Mutant Tentacle > Tutorials > Play Aids > Dice Tower

Dice Tower

So I had a bit of a hiatus, I apologize. Will be finishing up the Kingdom Death diorama soon, hopefully.

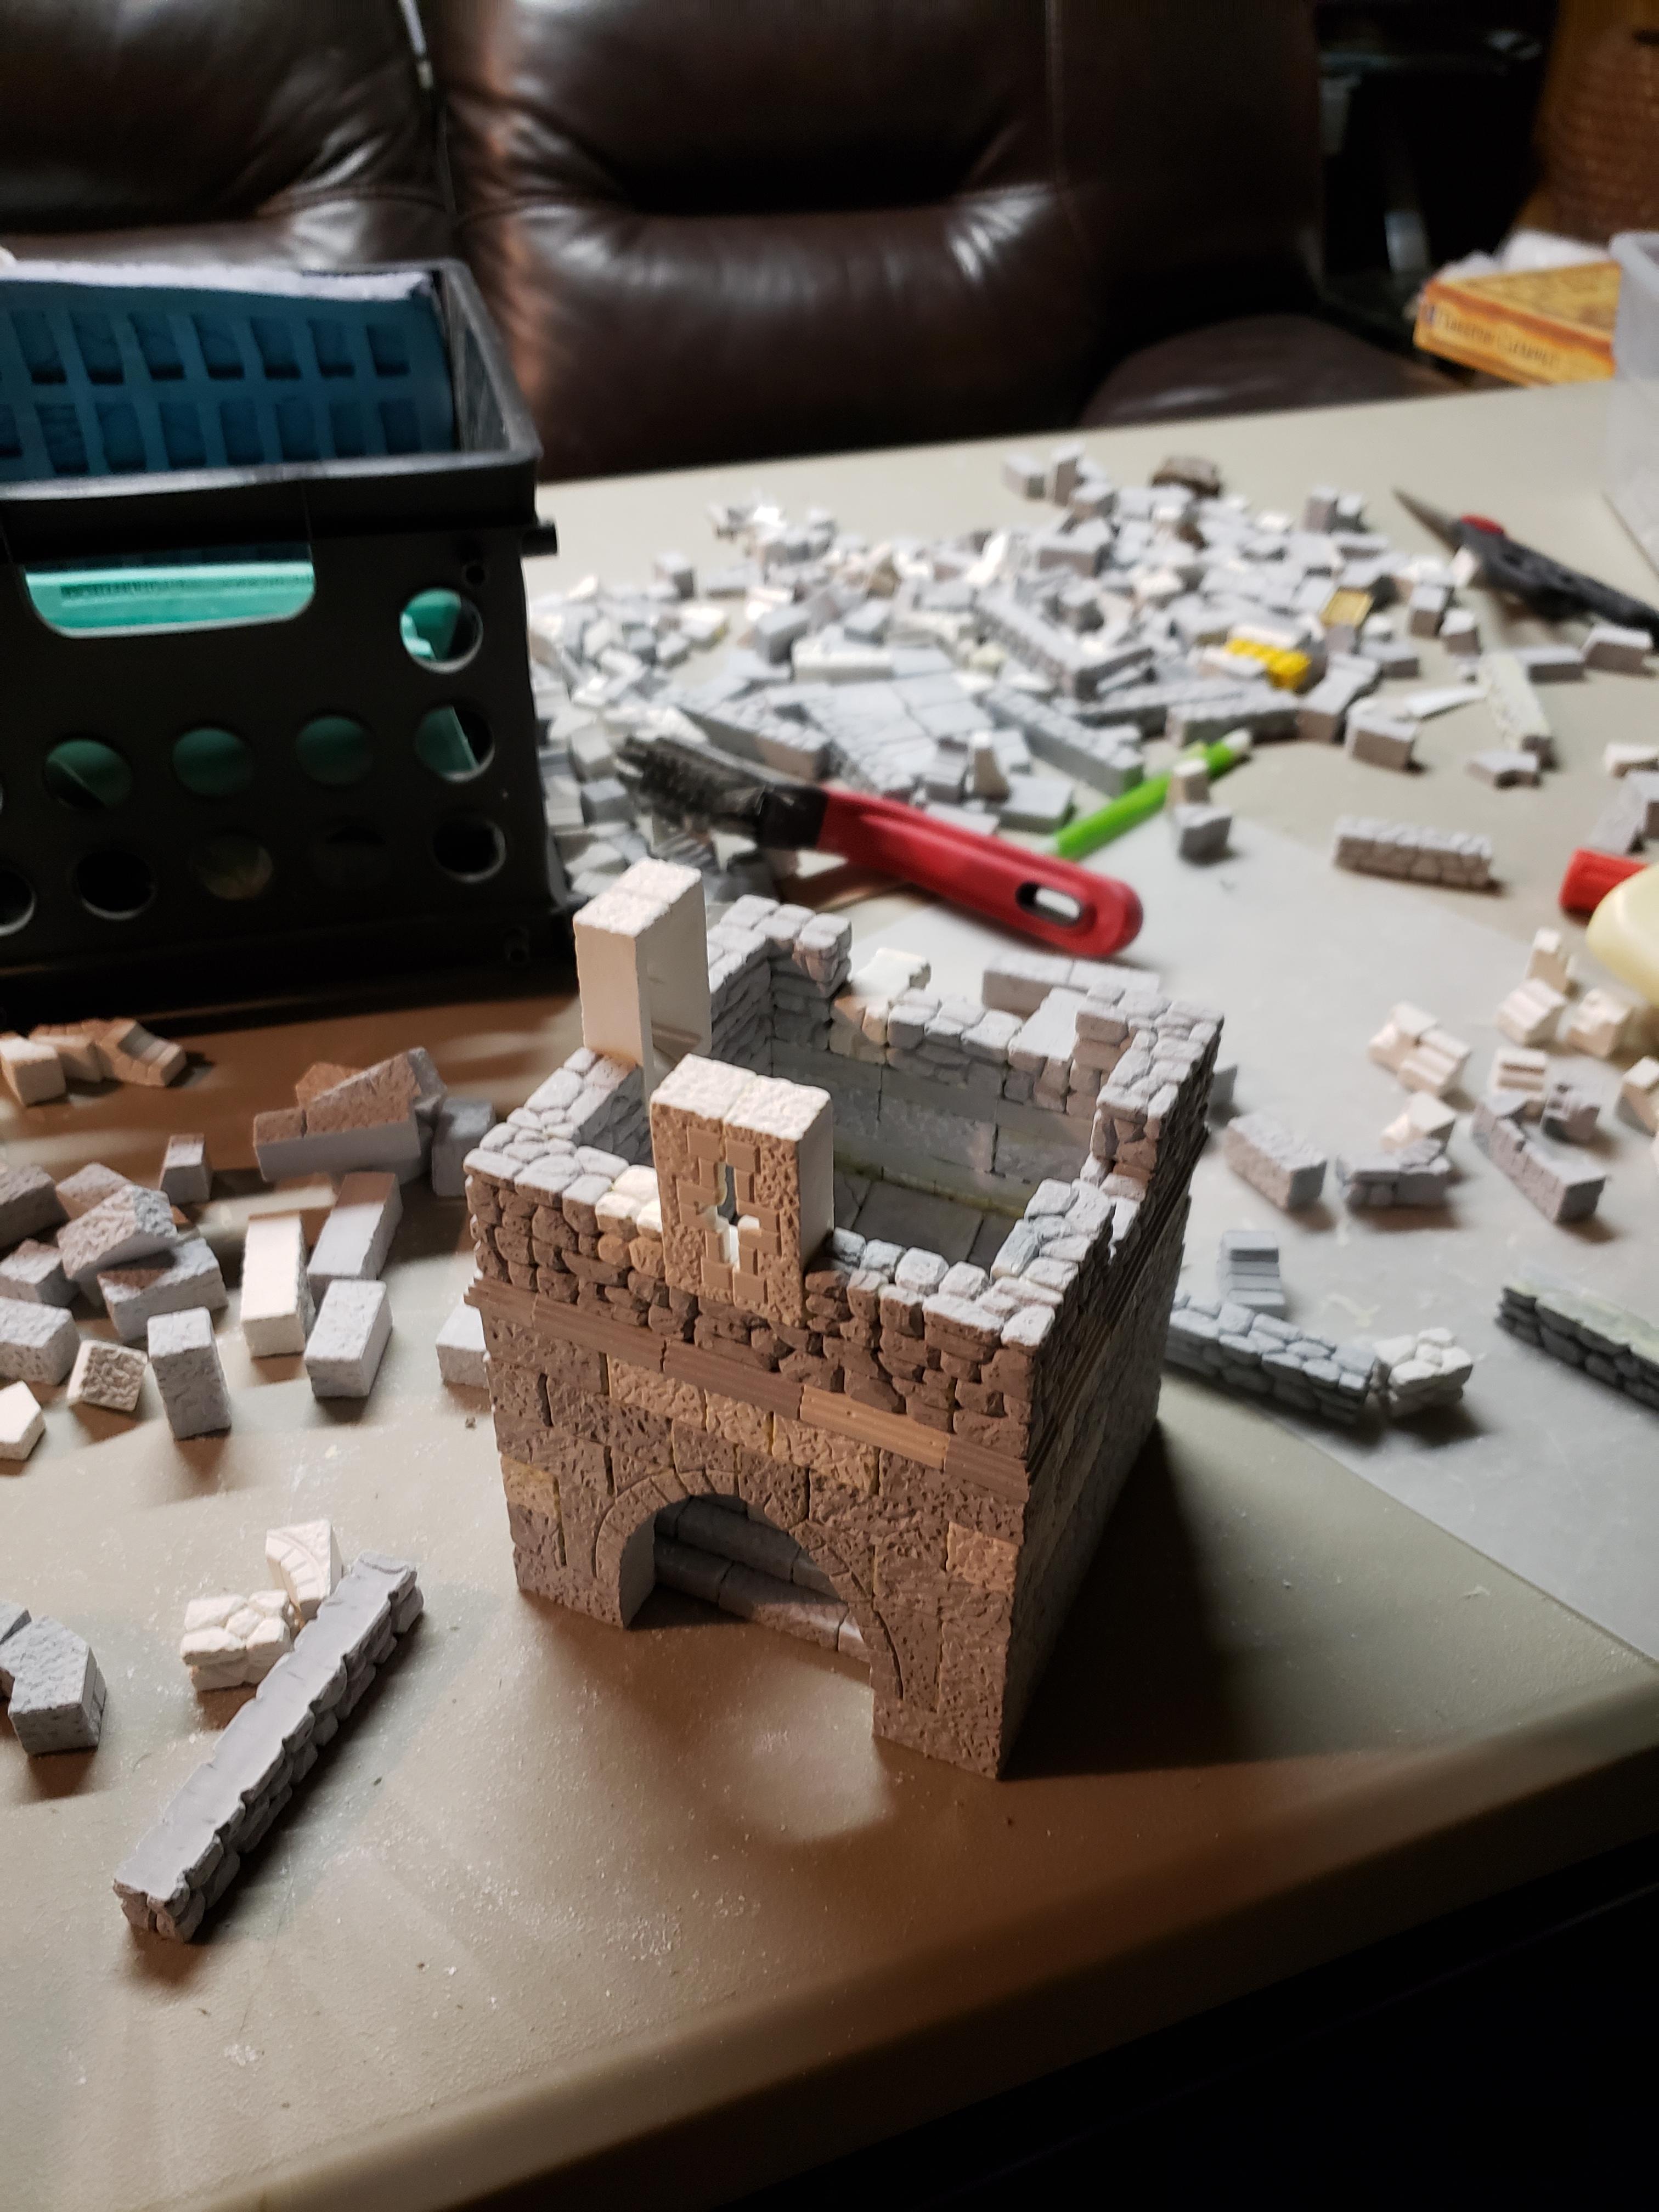
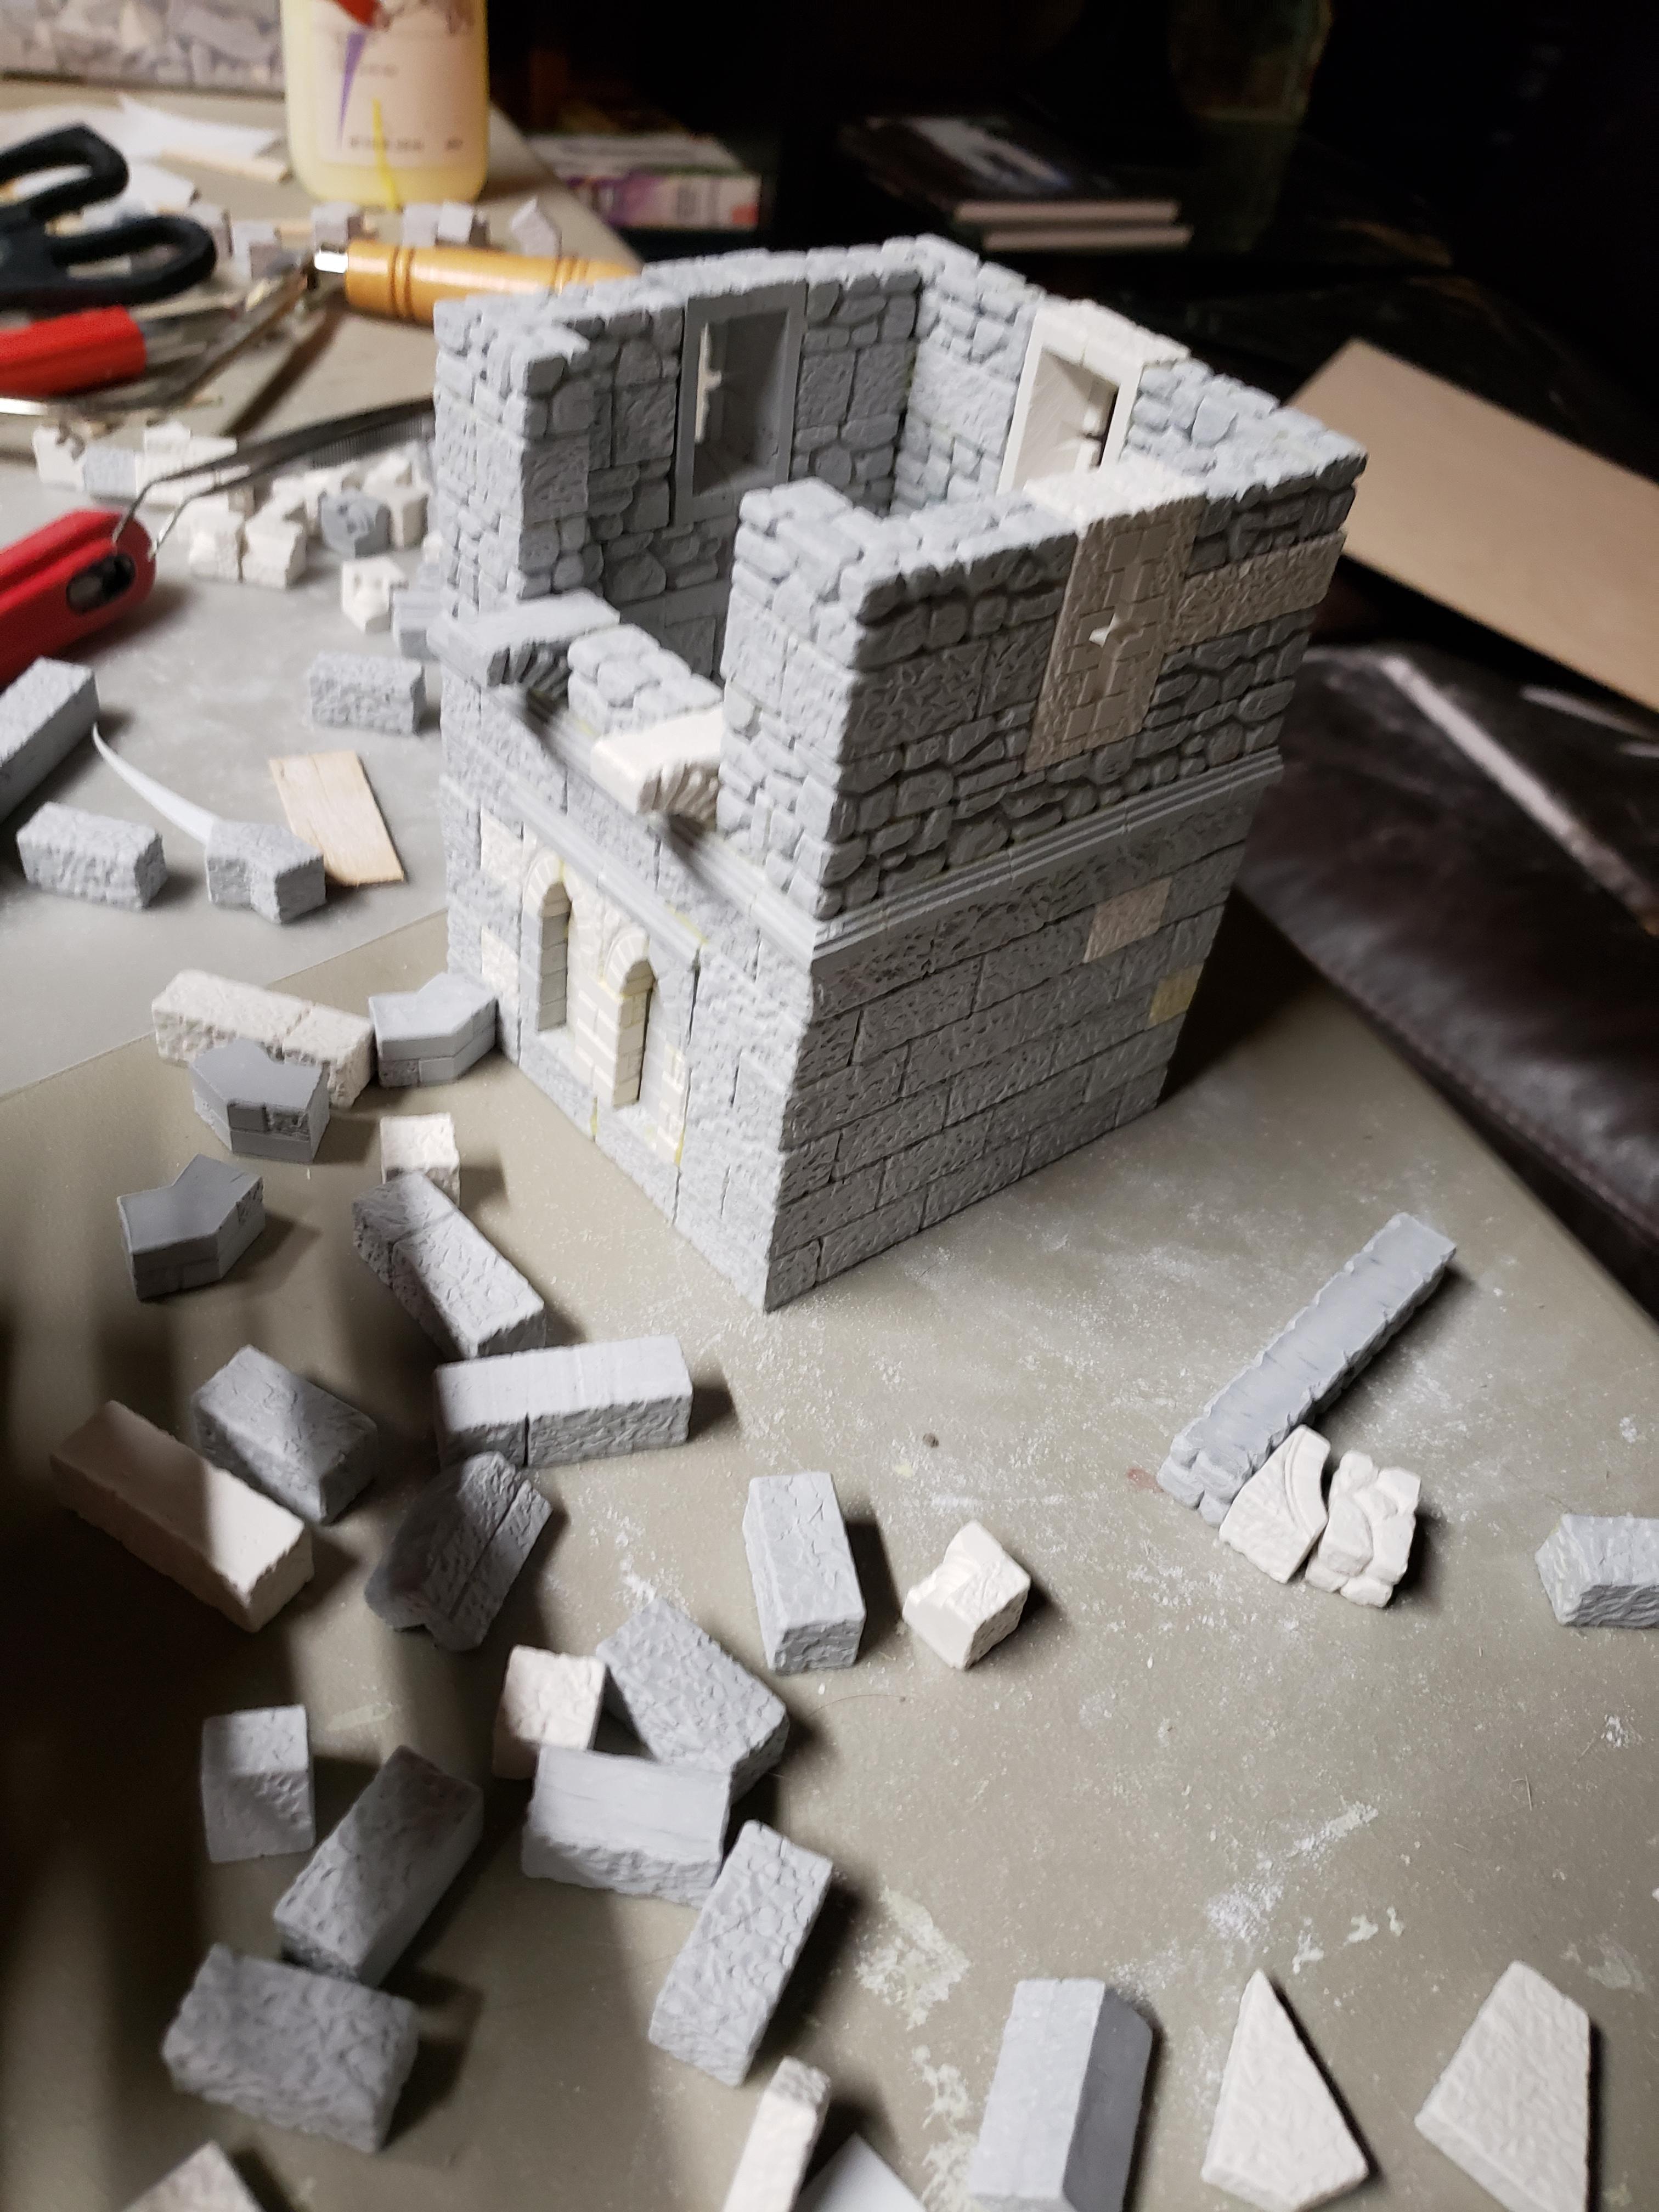
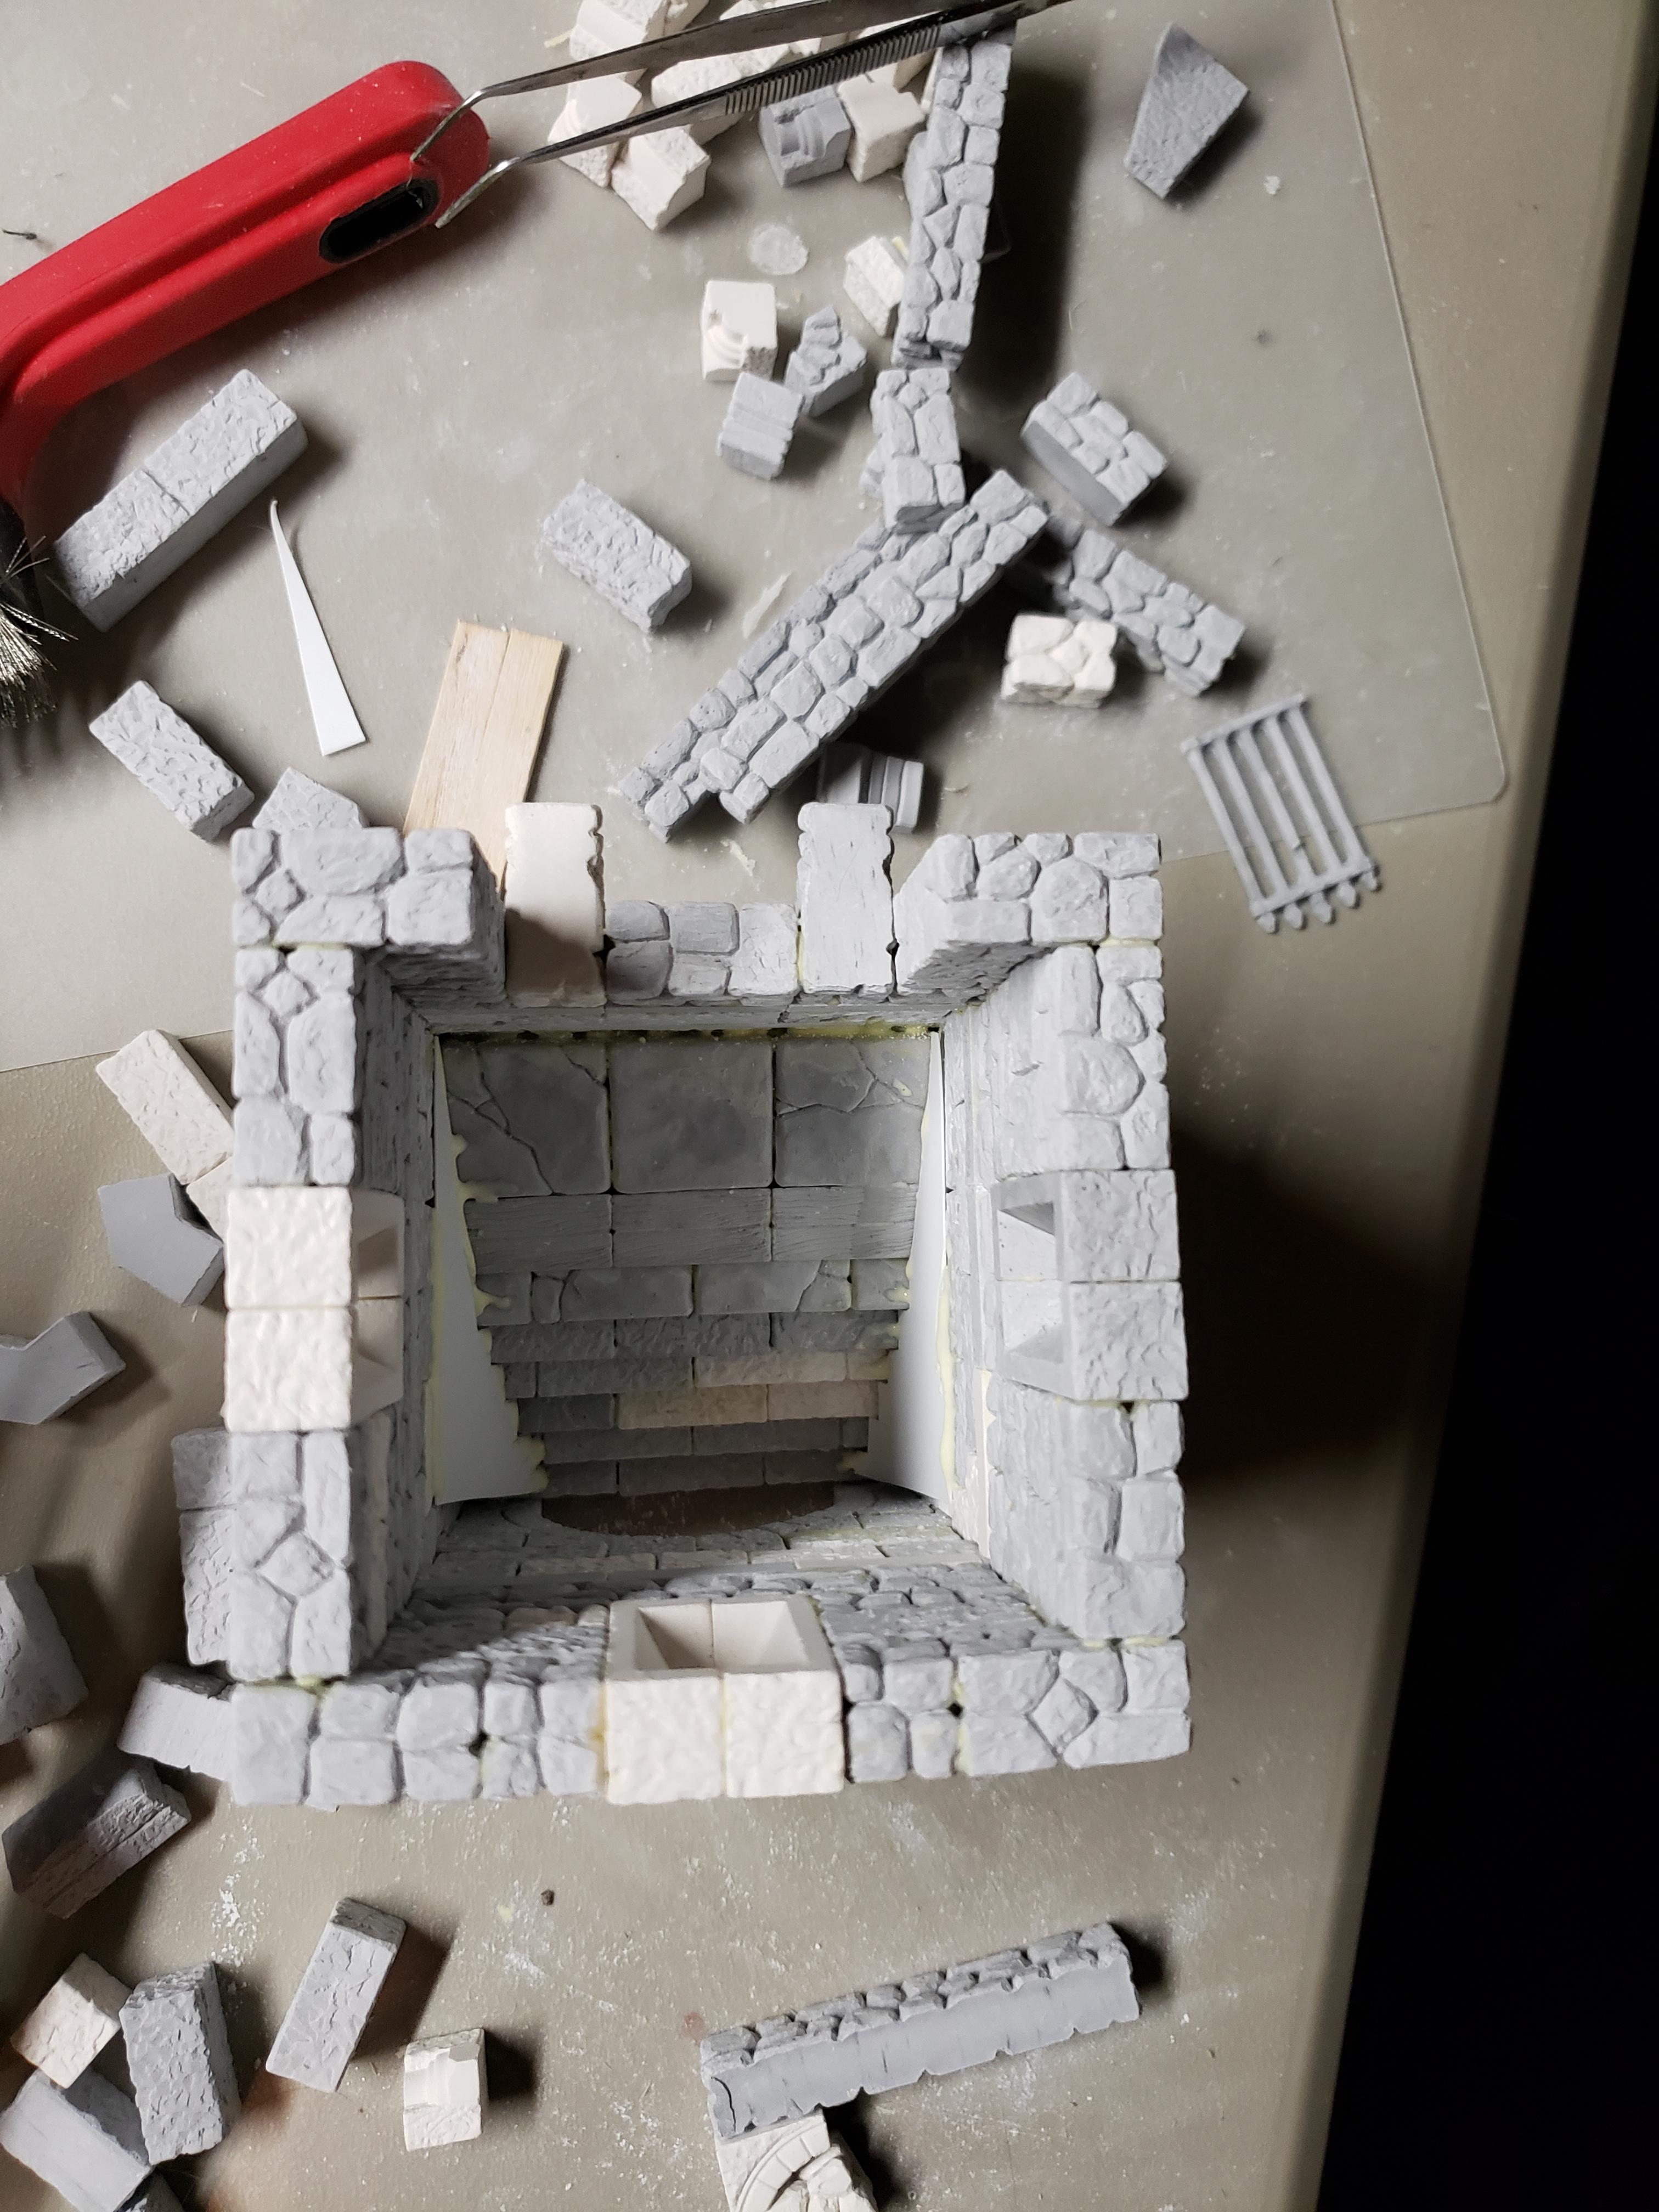
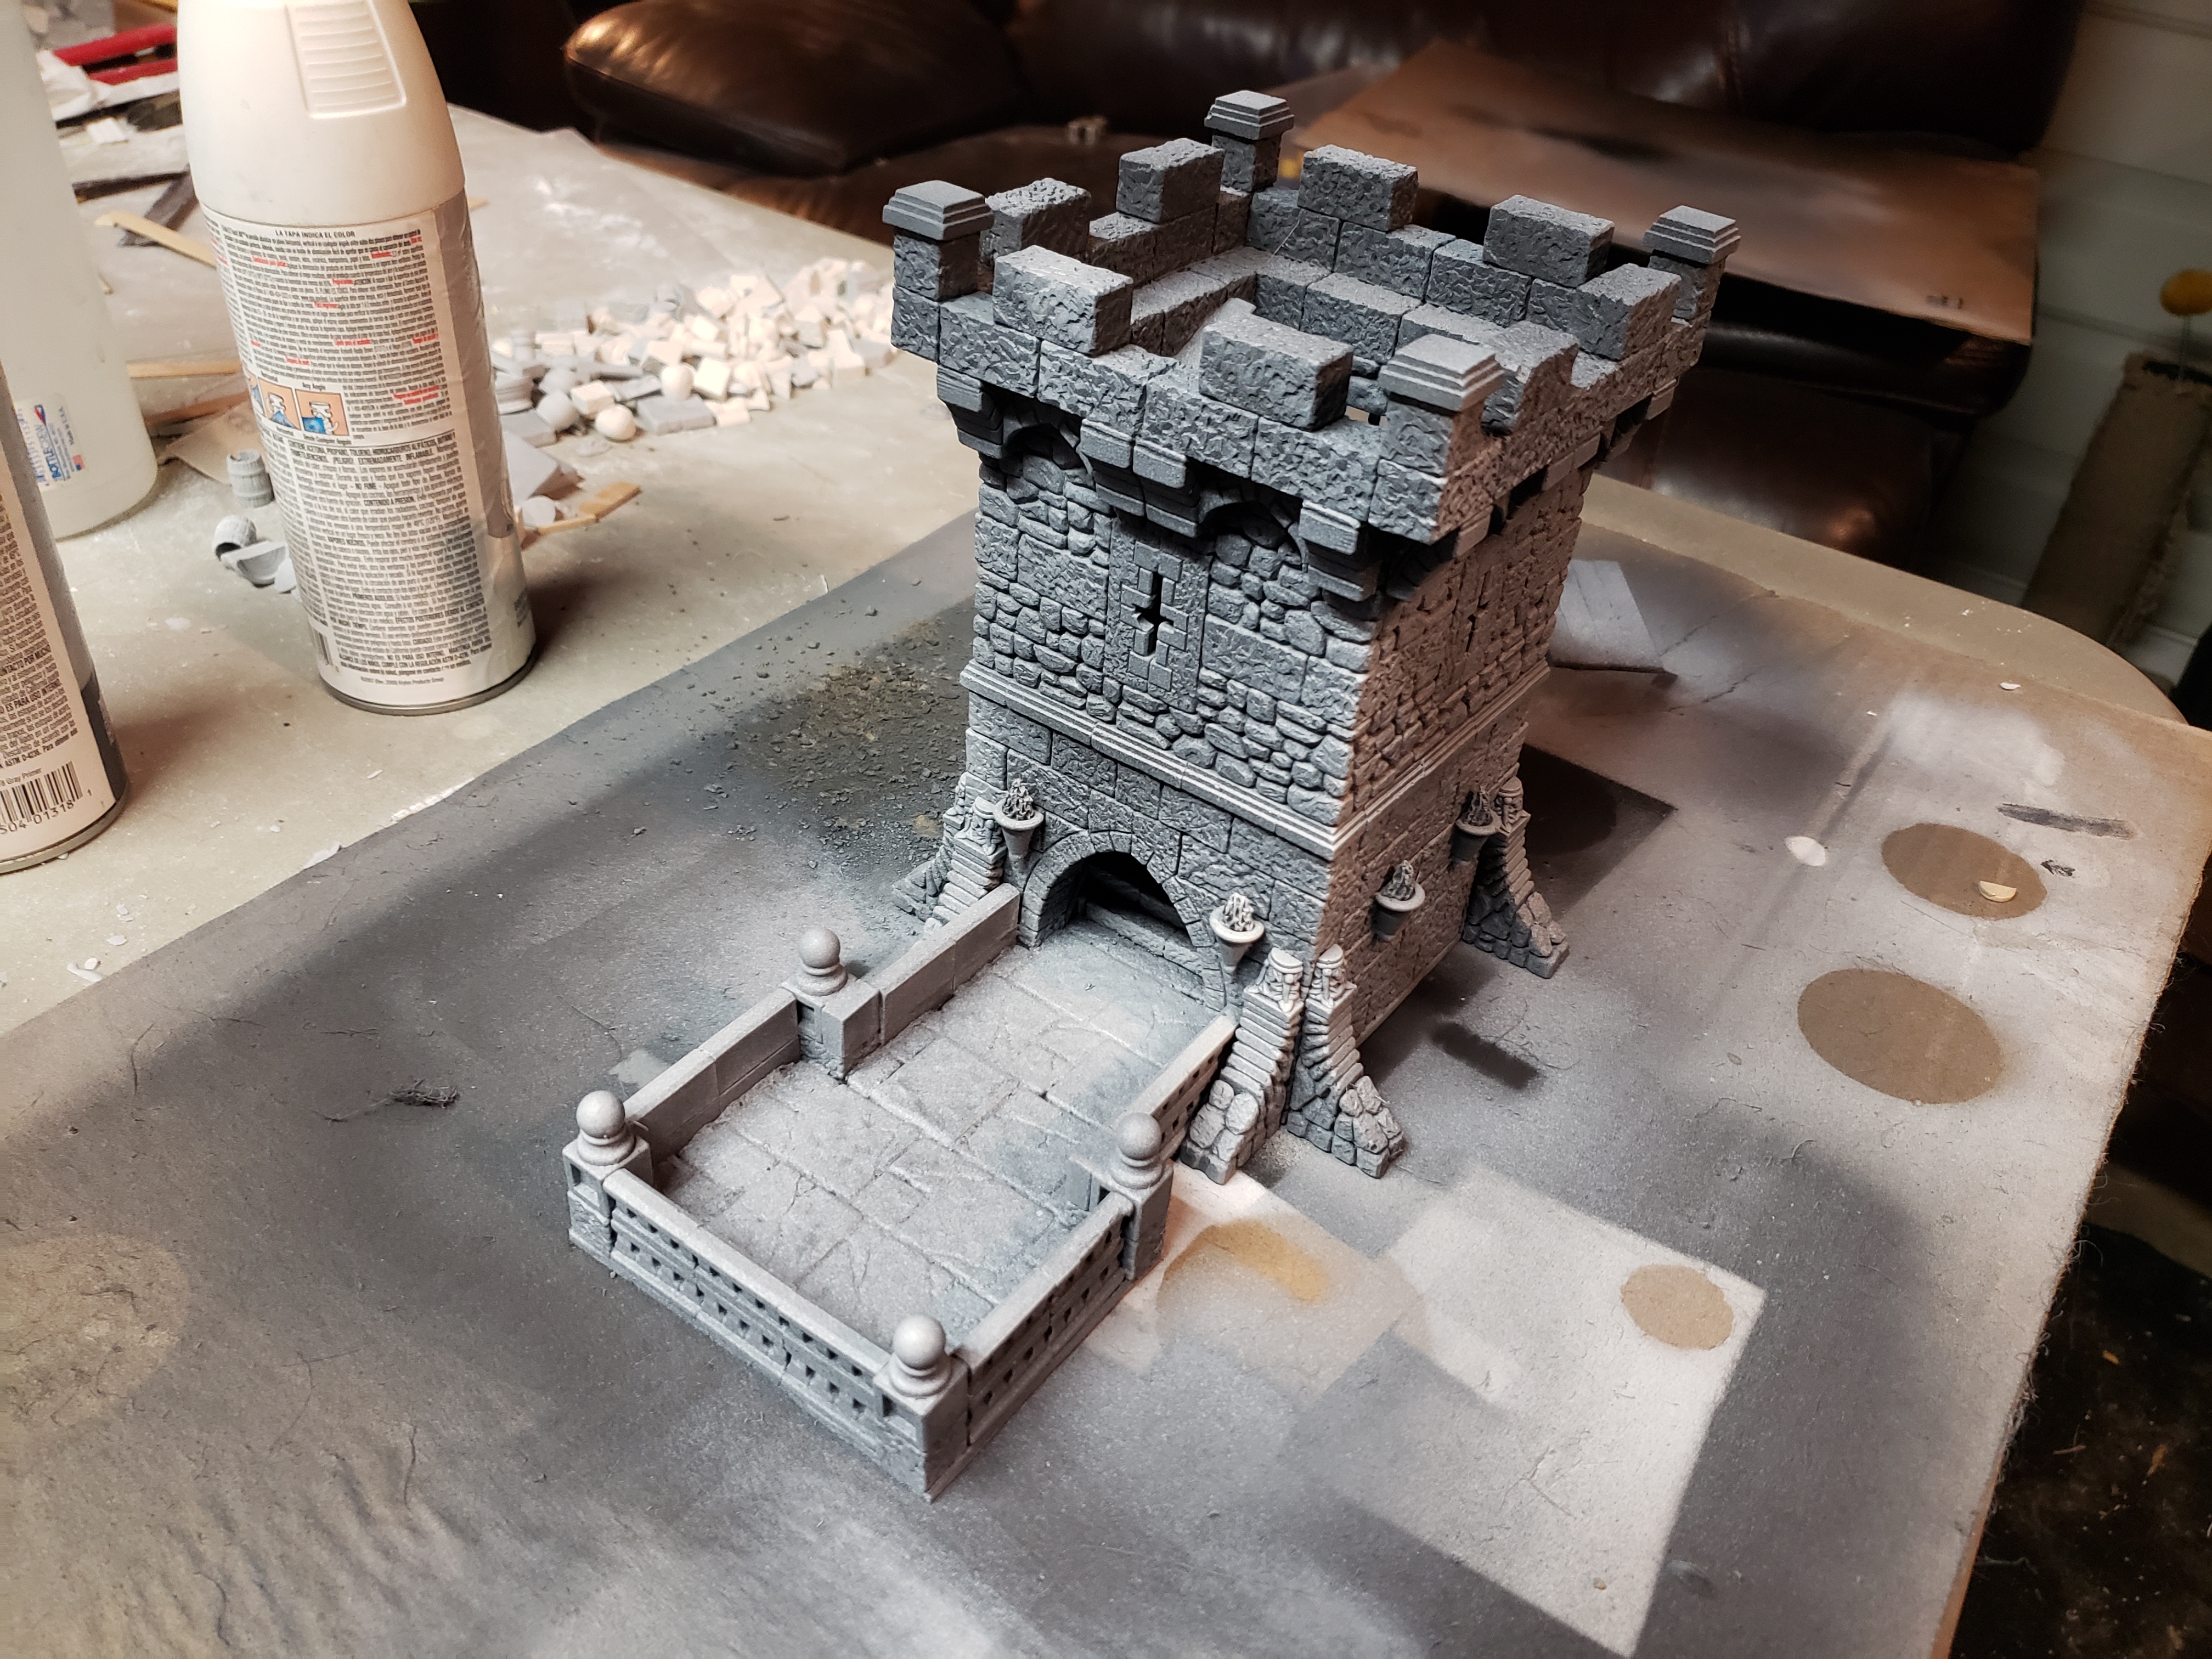
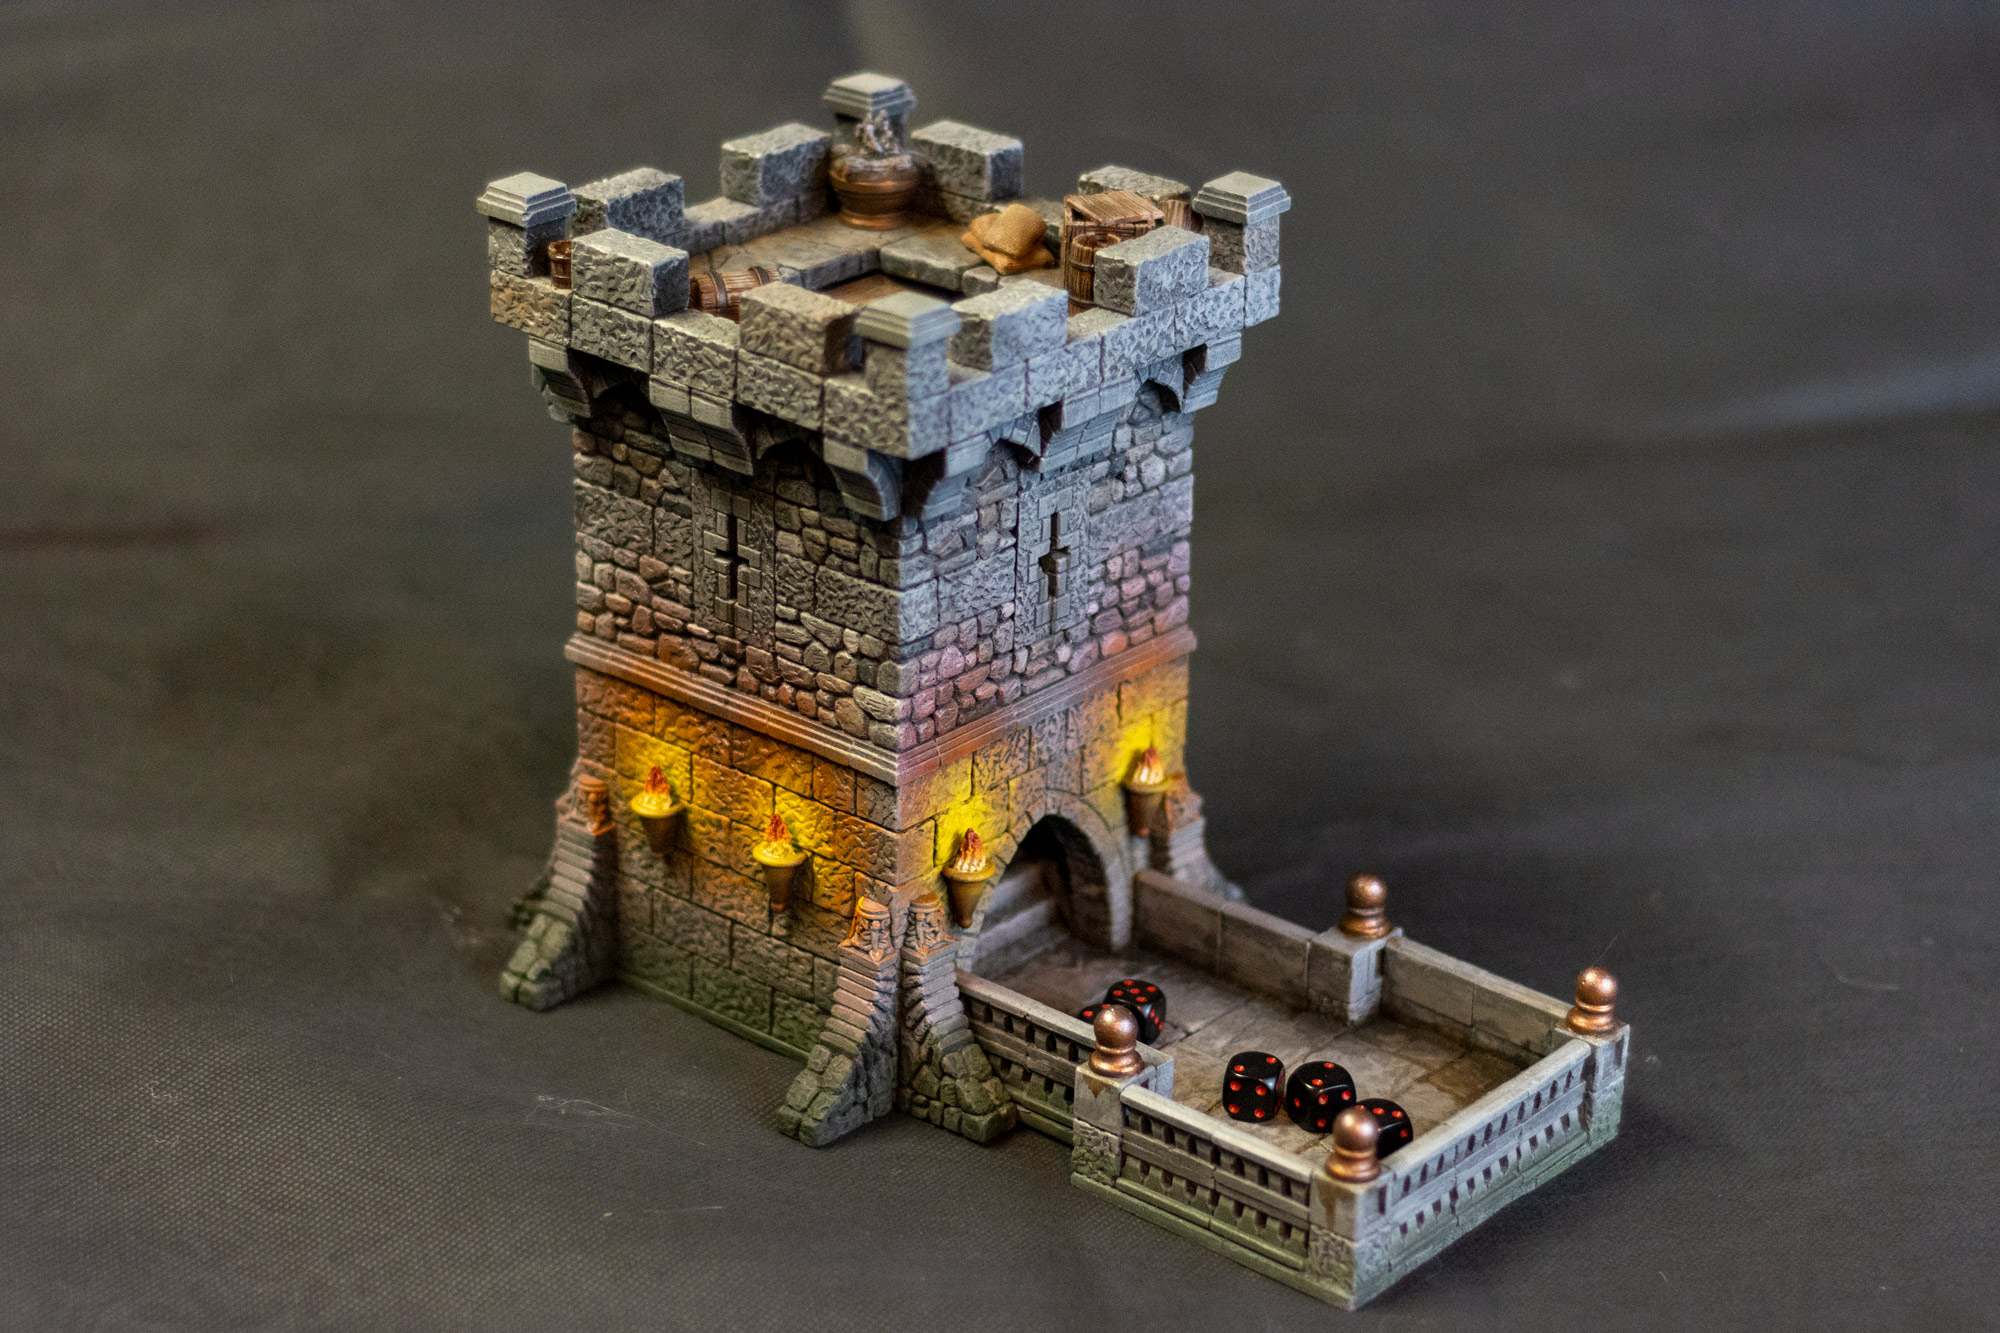
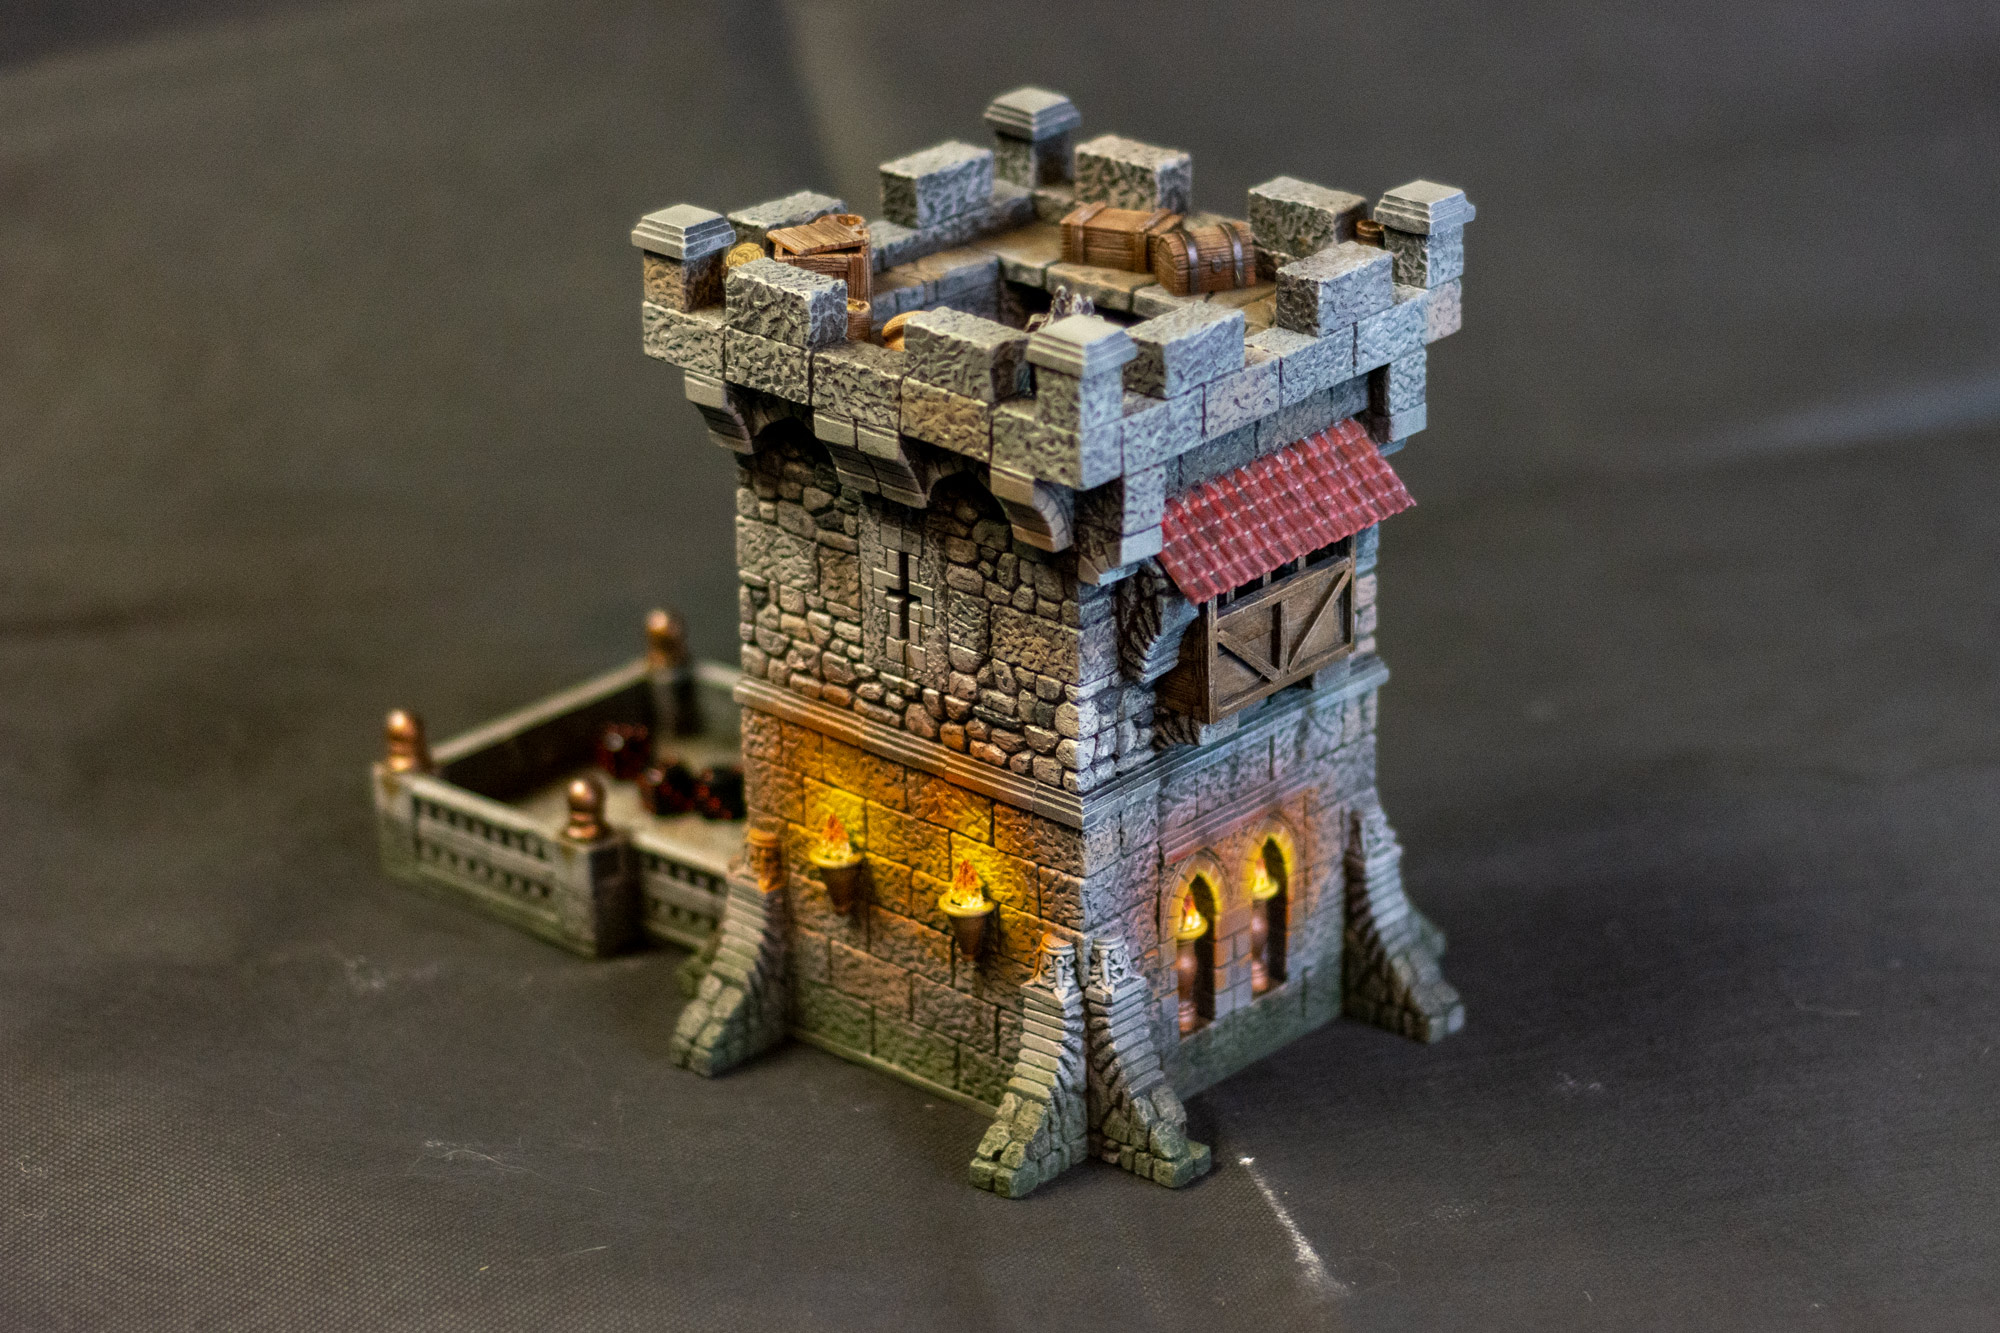
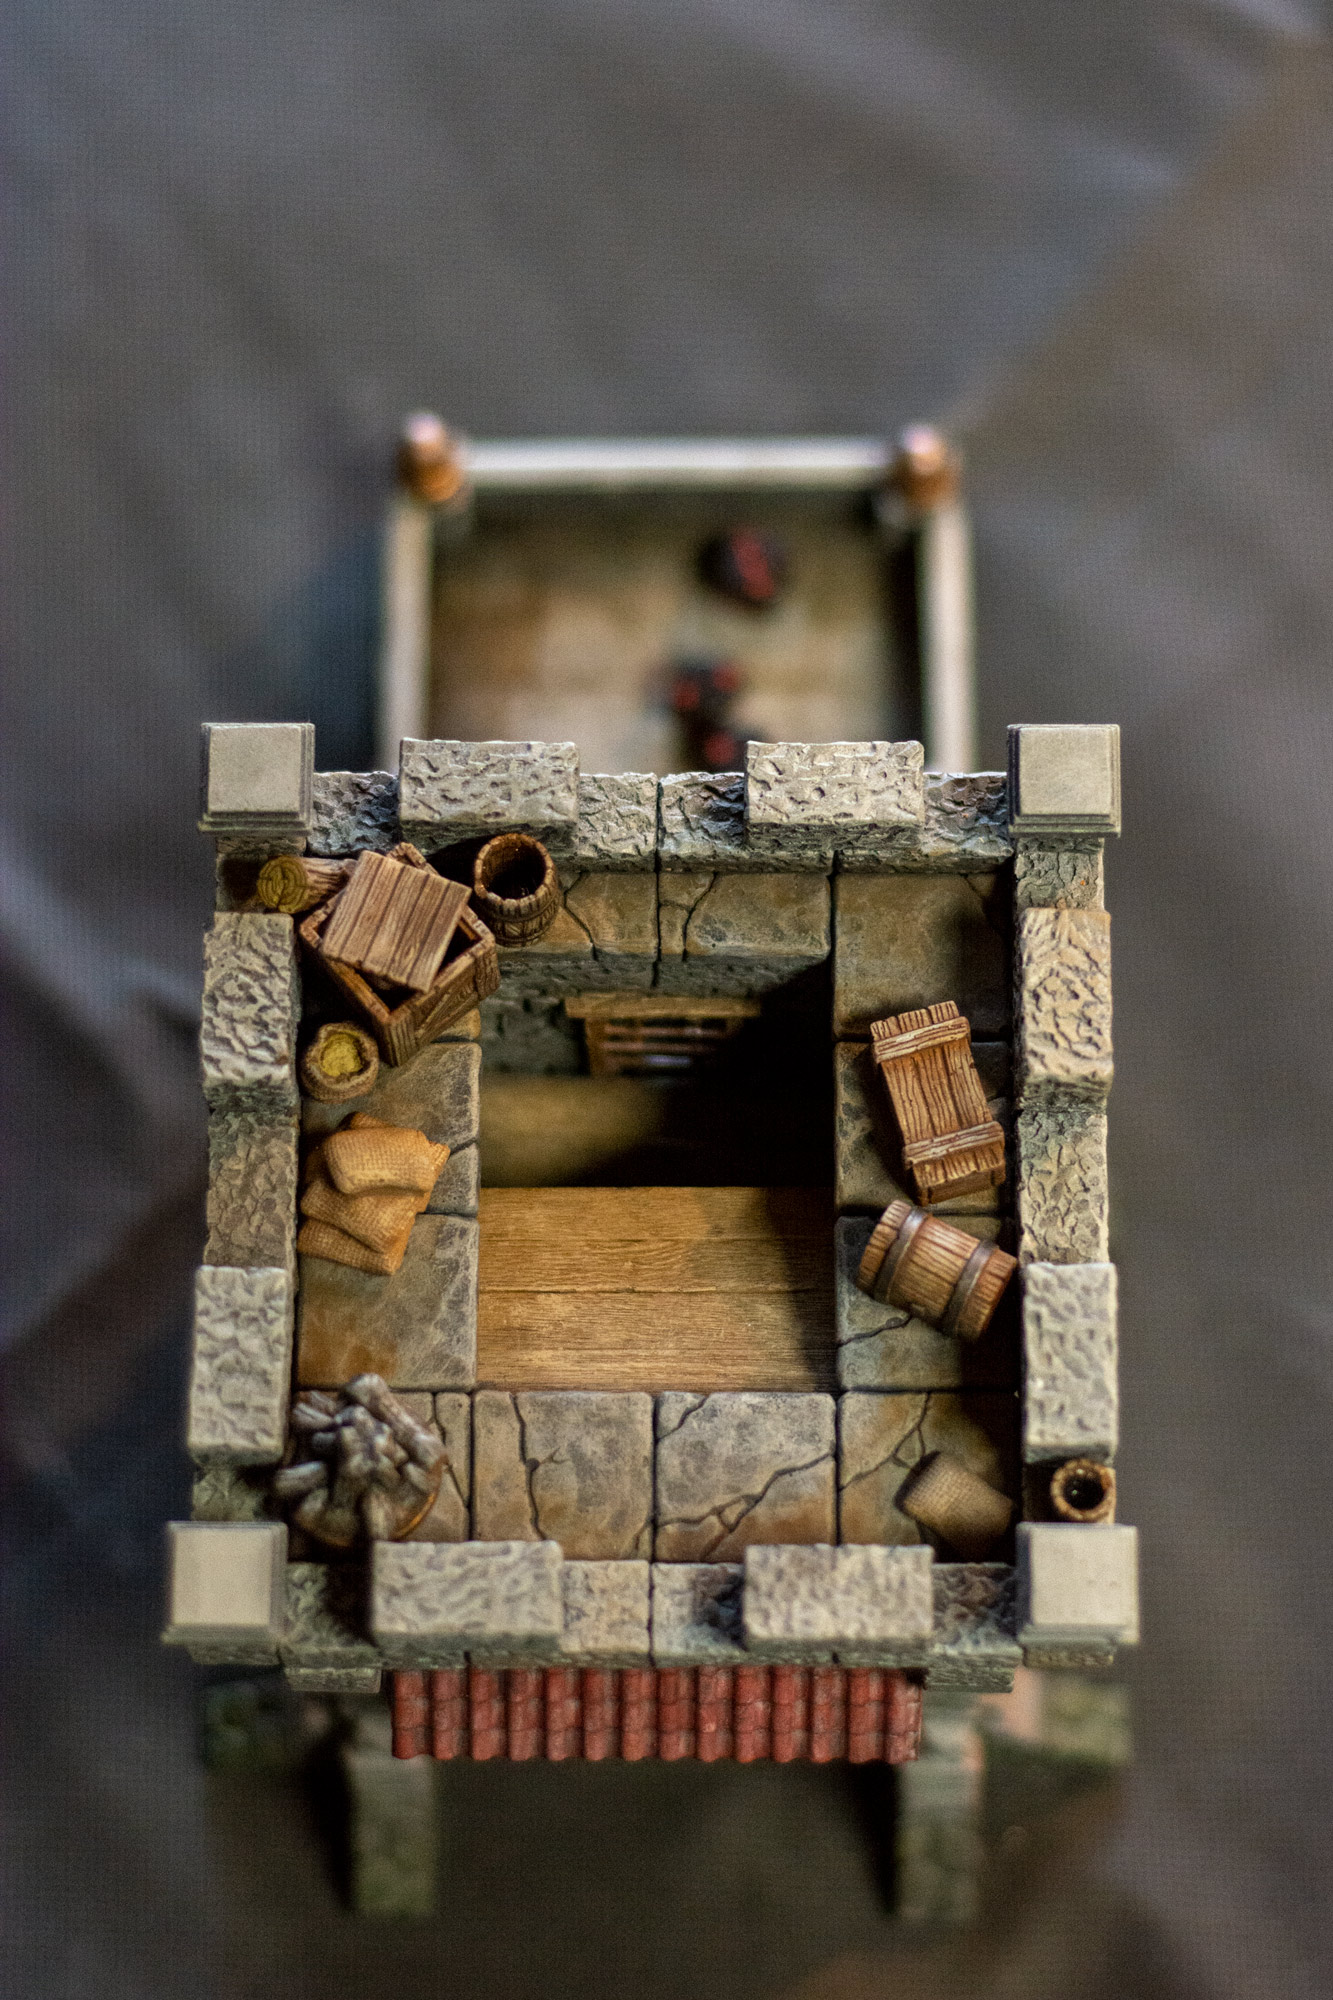
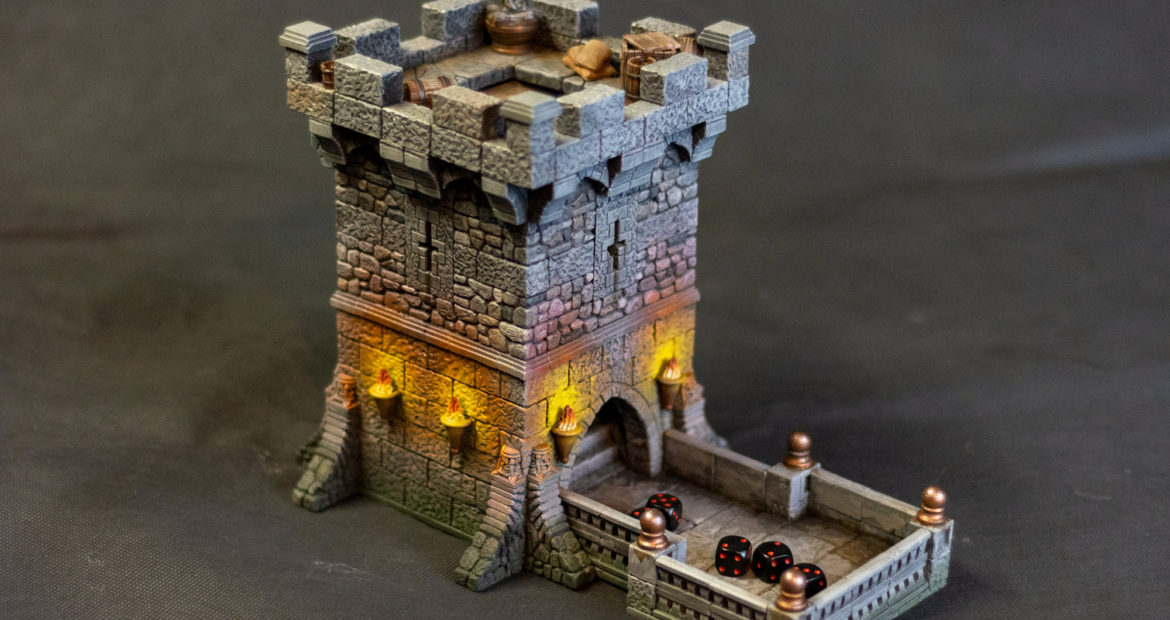
Anyway, in the meantime, I built a dice tower! I’m using a fairly small table for gaming at the moment, and it’s becoming annoying to roll across the actual board I’m playing, or picking dice off the floor, so I made a thing to fix that!

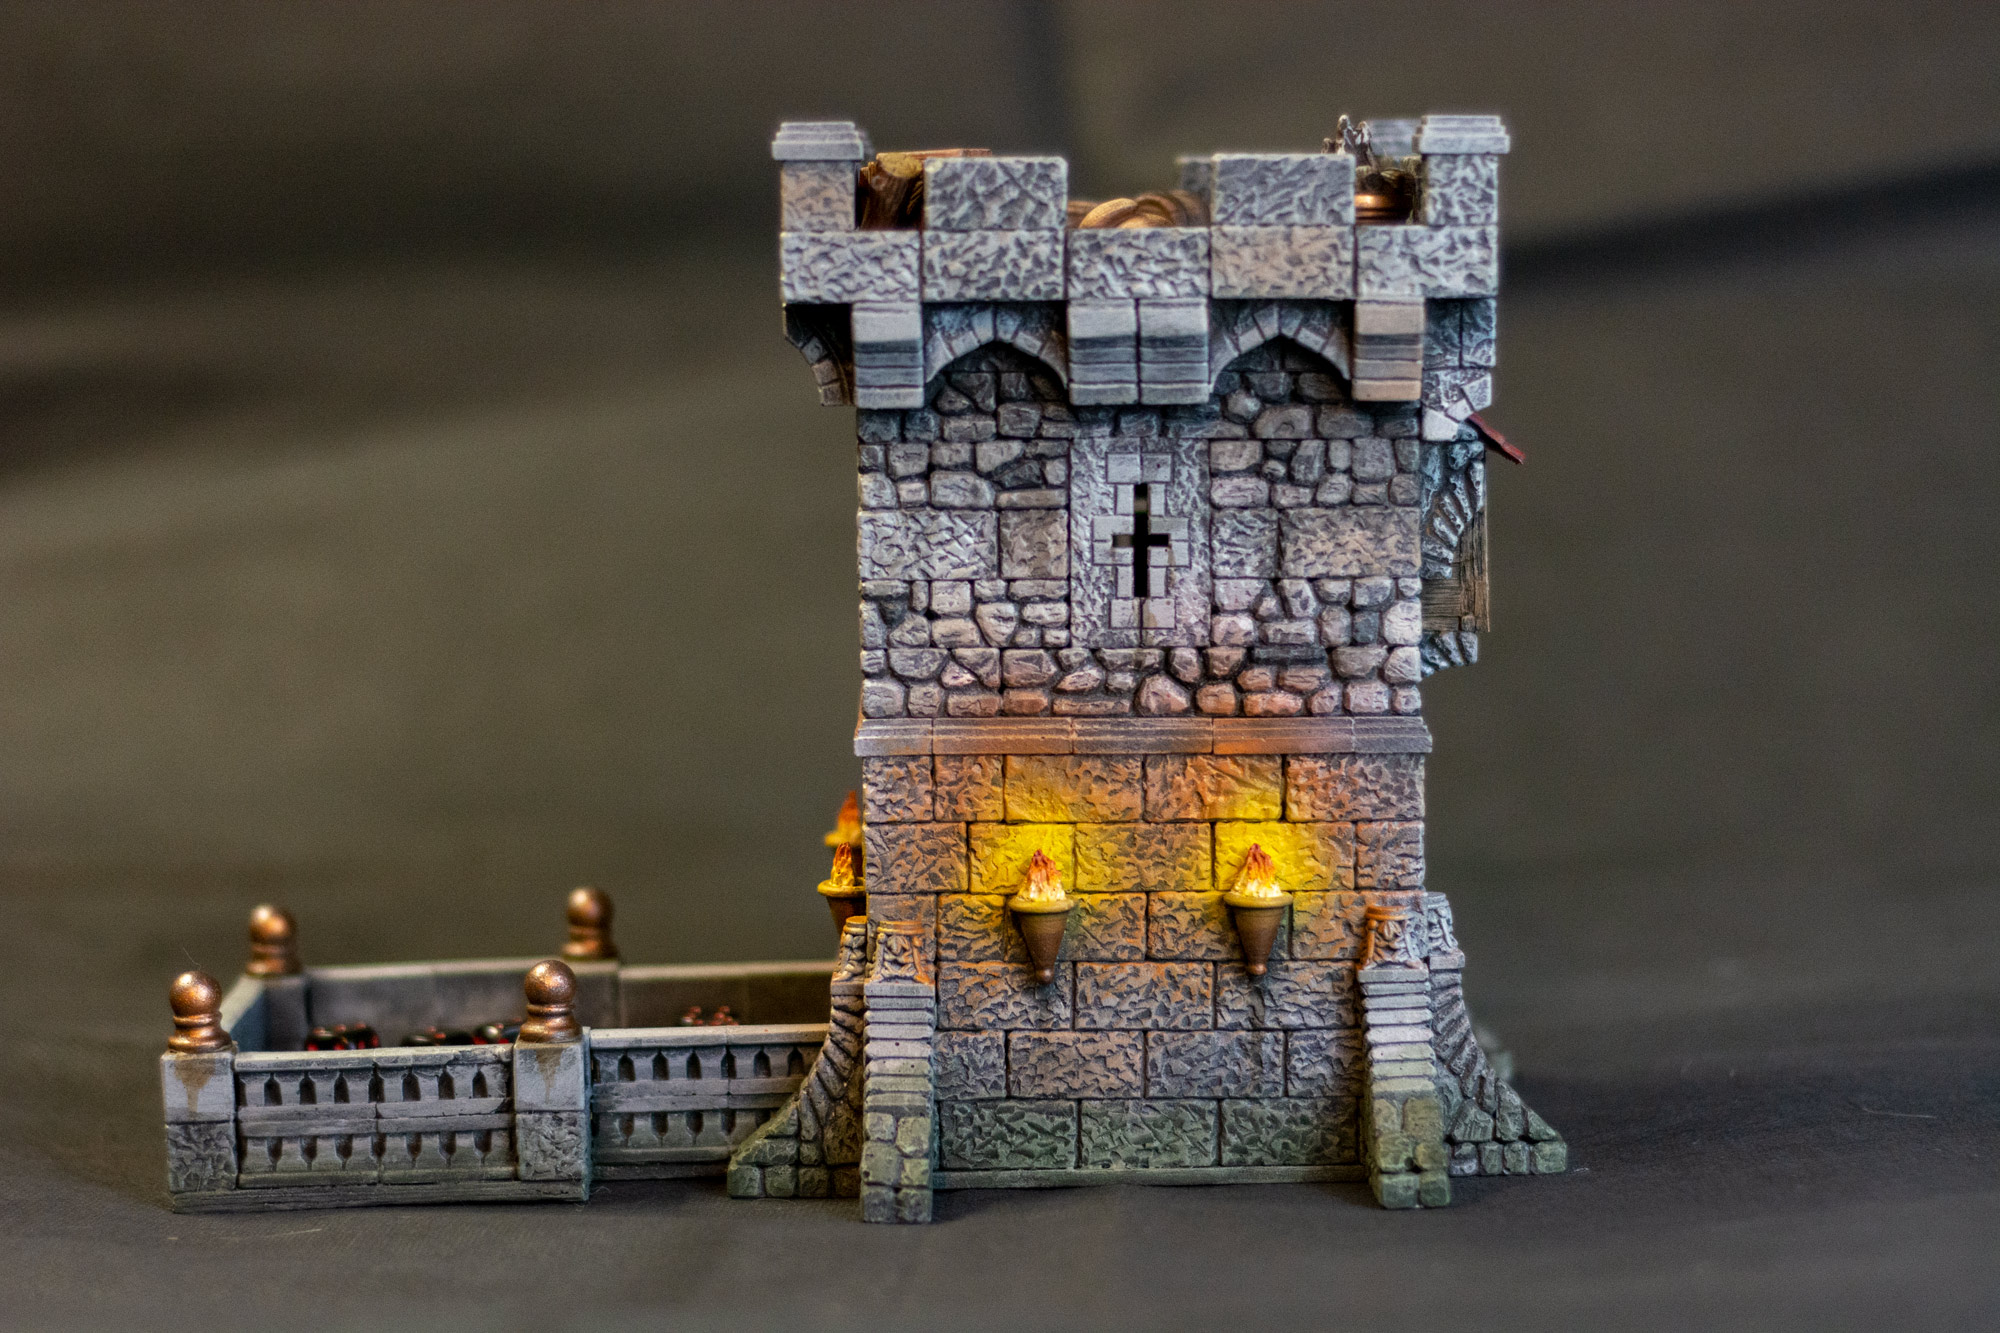
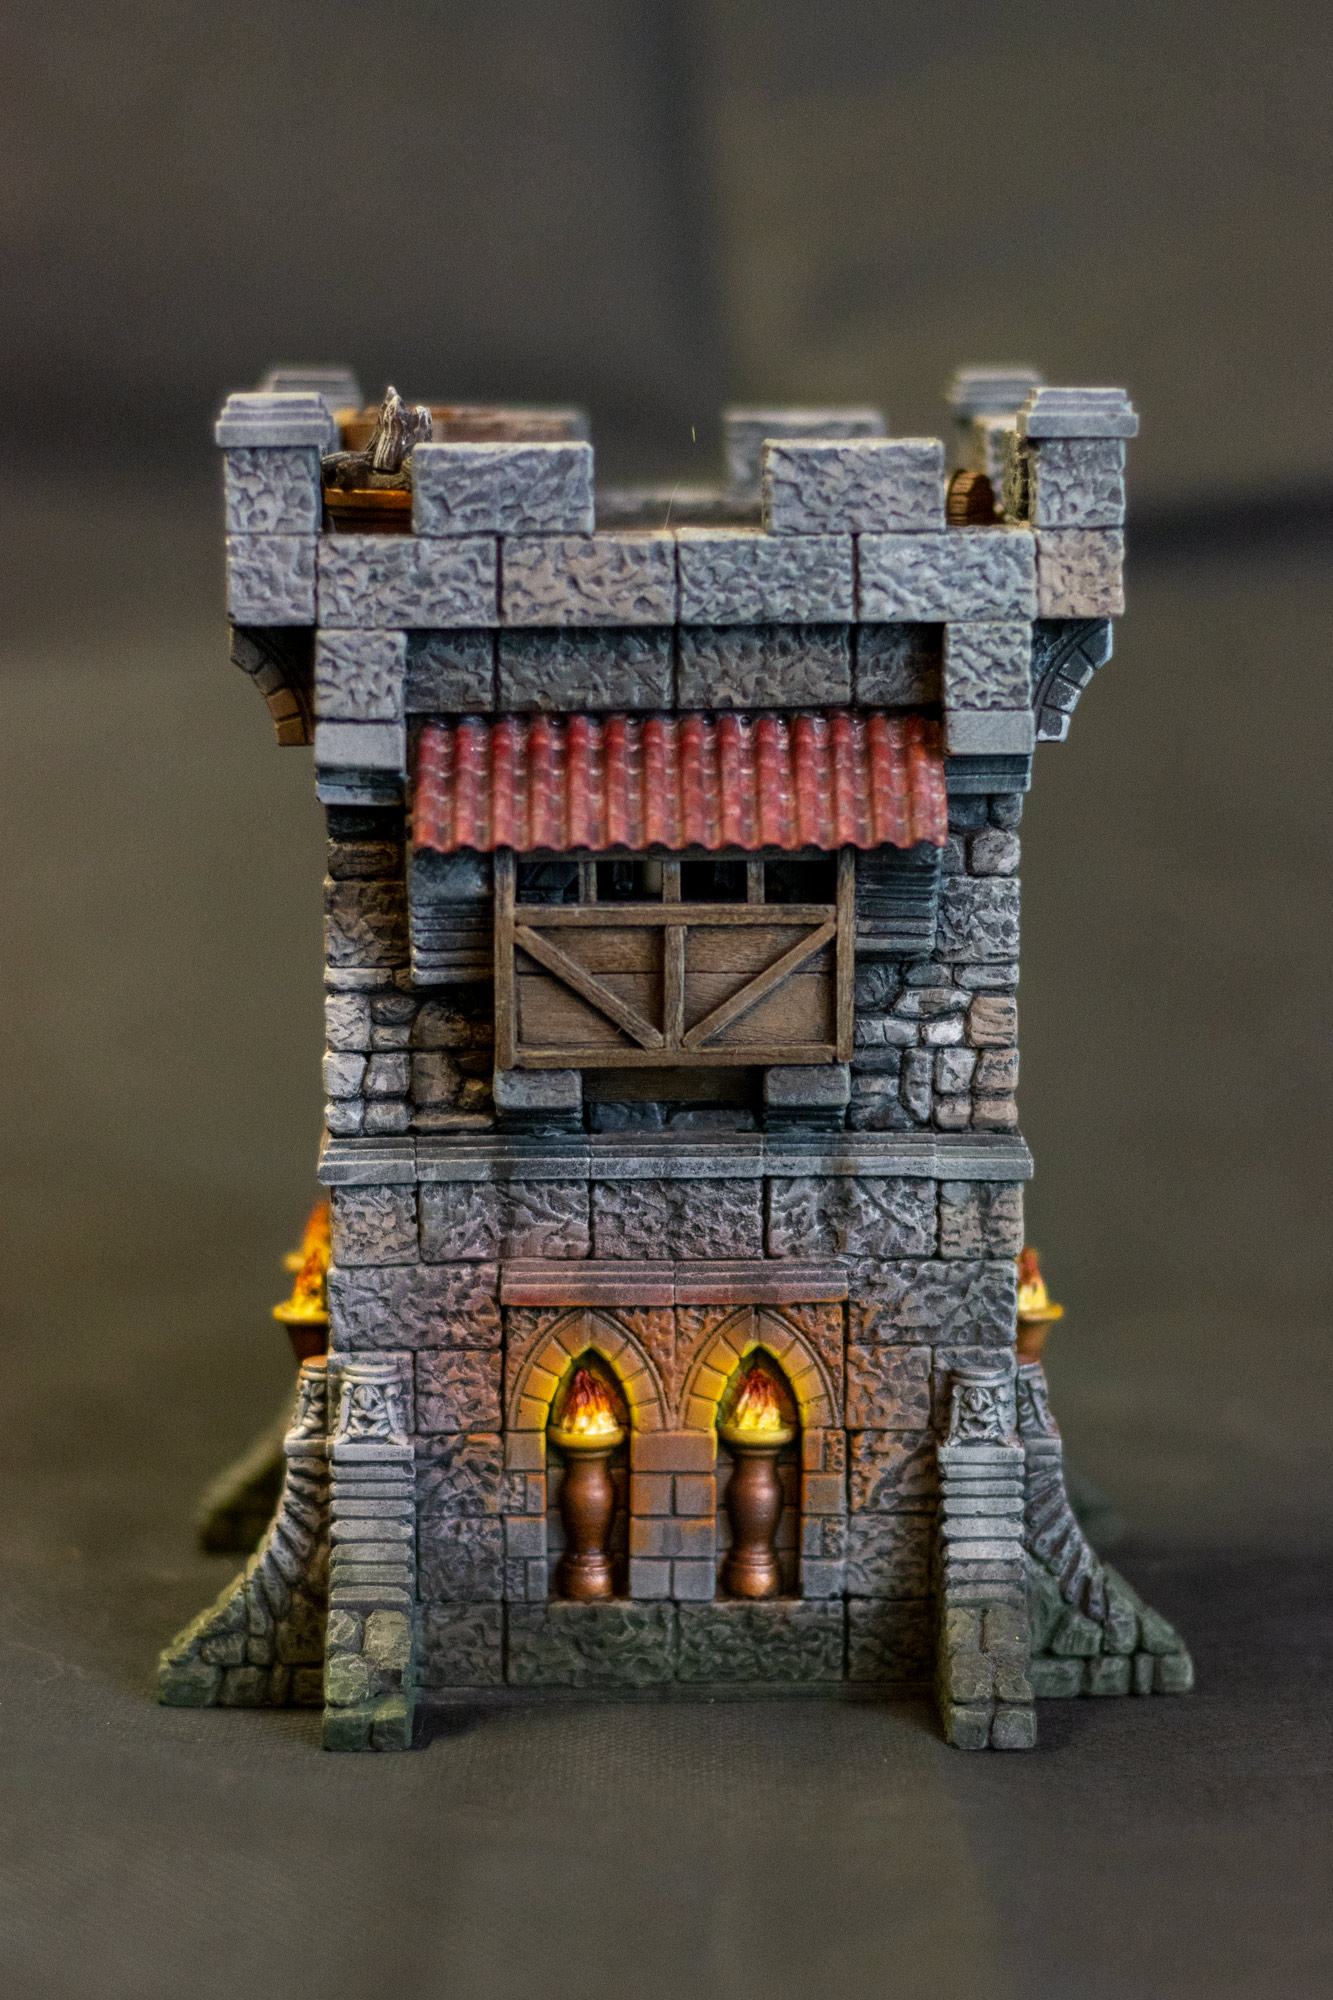
I used molds from Hirst Arts. These are the best molds, seriously. They’re what I used for my semi-abandoned sewer project a few years ago. Also used dental stone. The white  blocks are Excalibur, and the gray  ones are Merlin’s Magic (very little difference otherwise, they both set very hard).

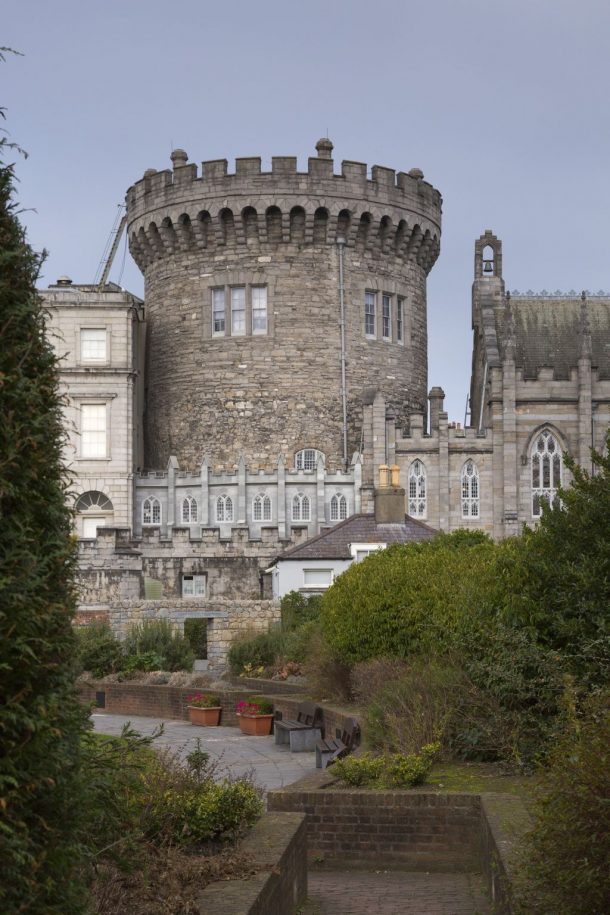
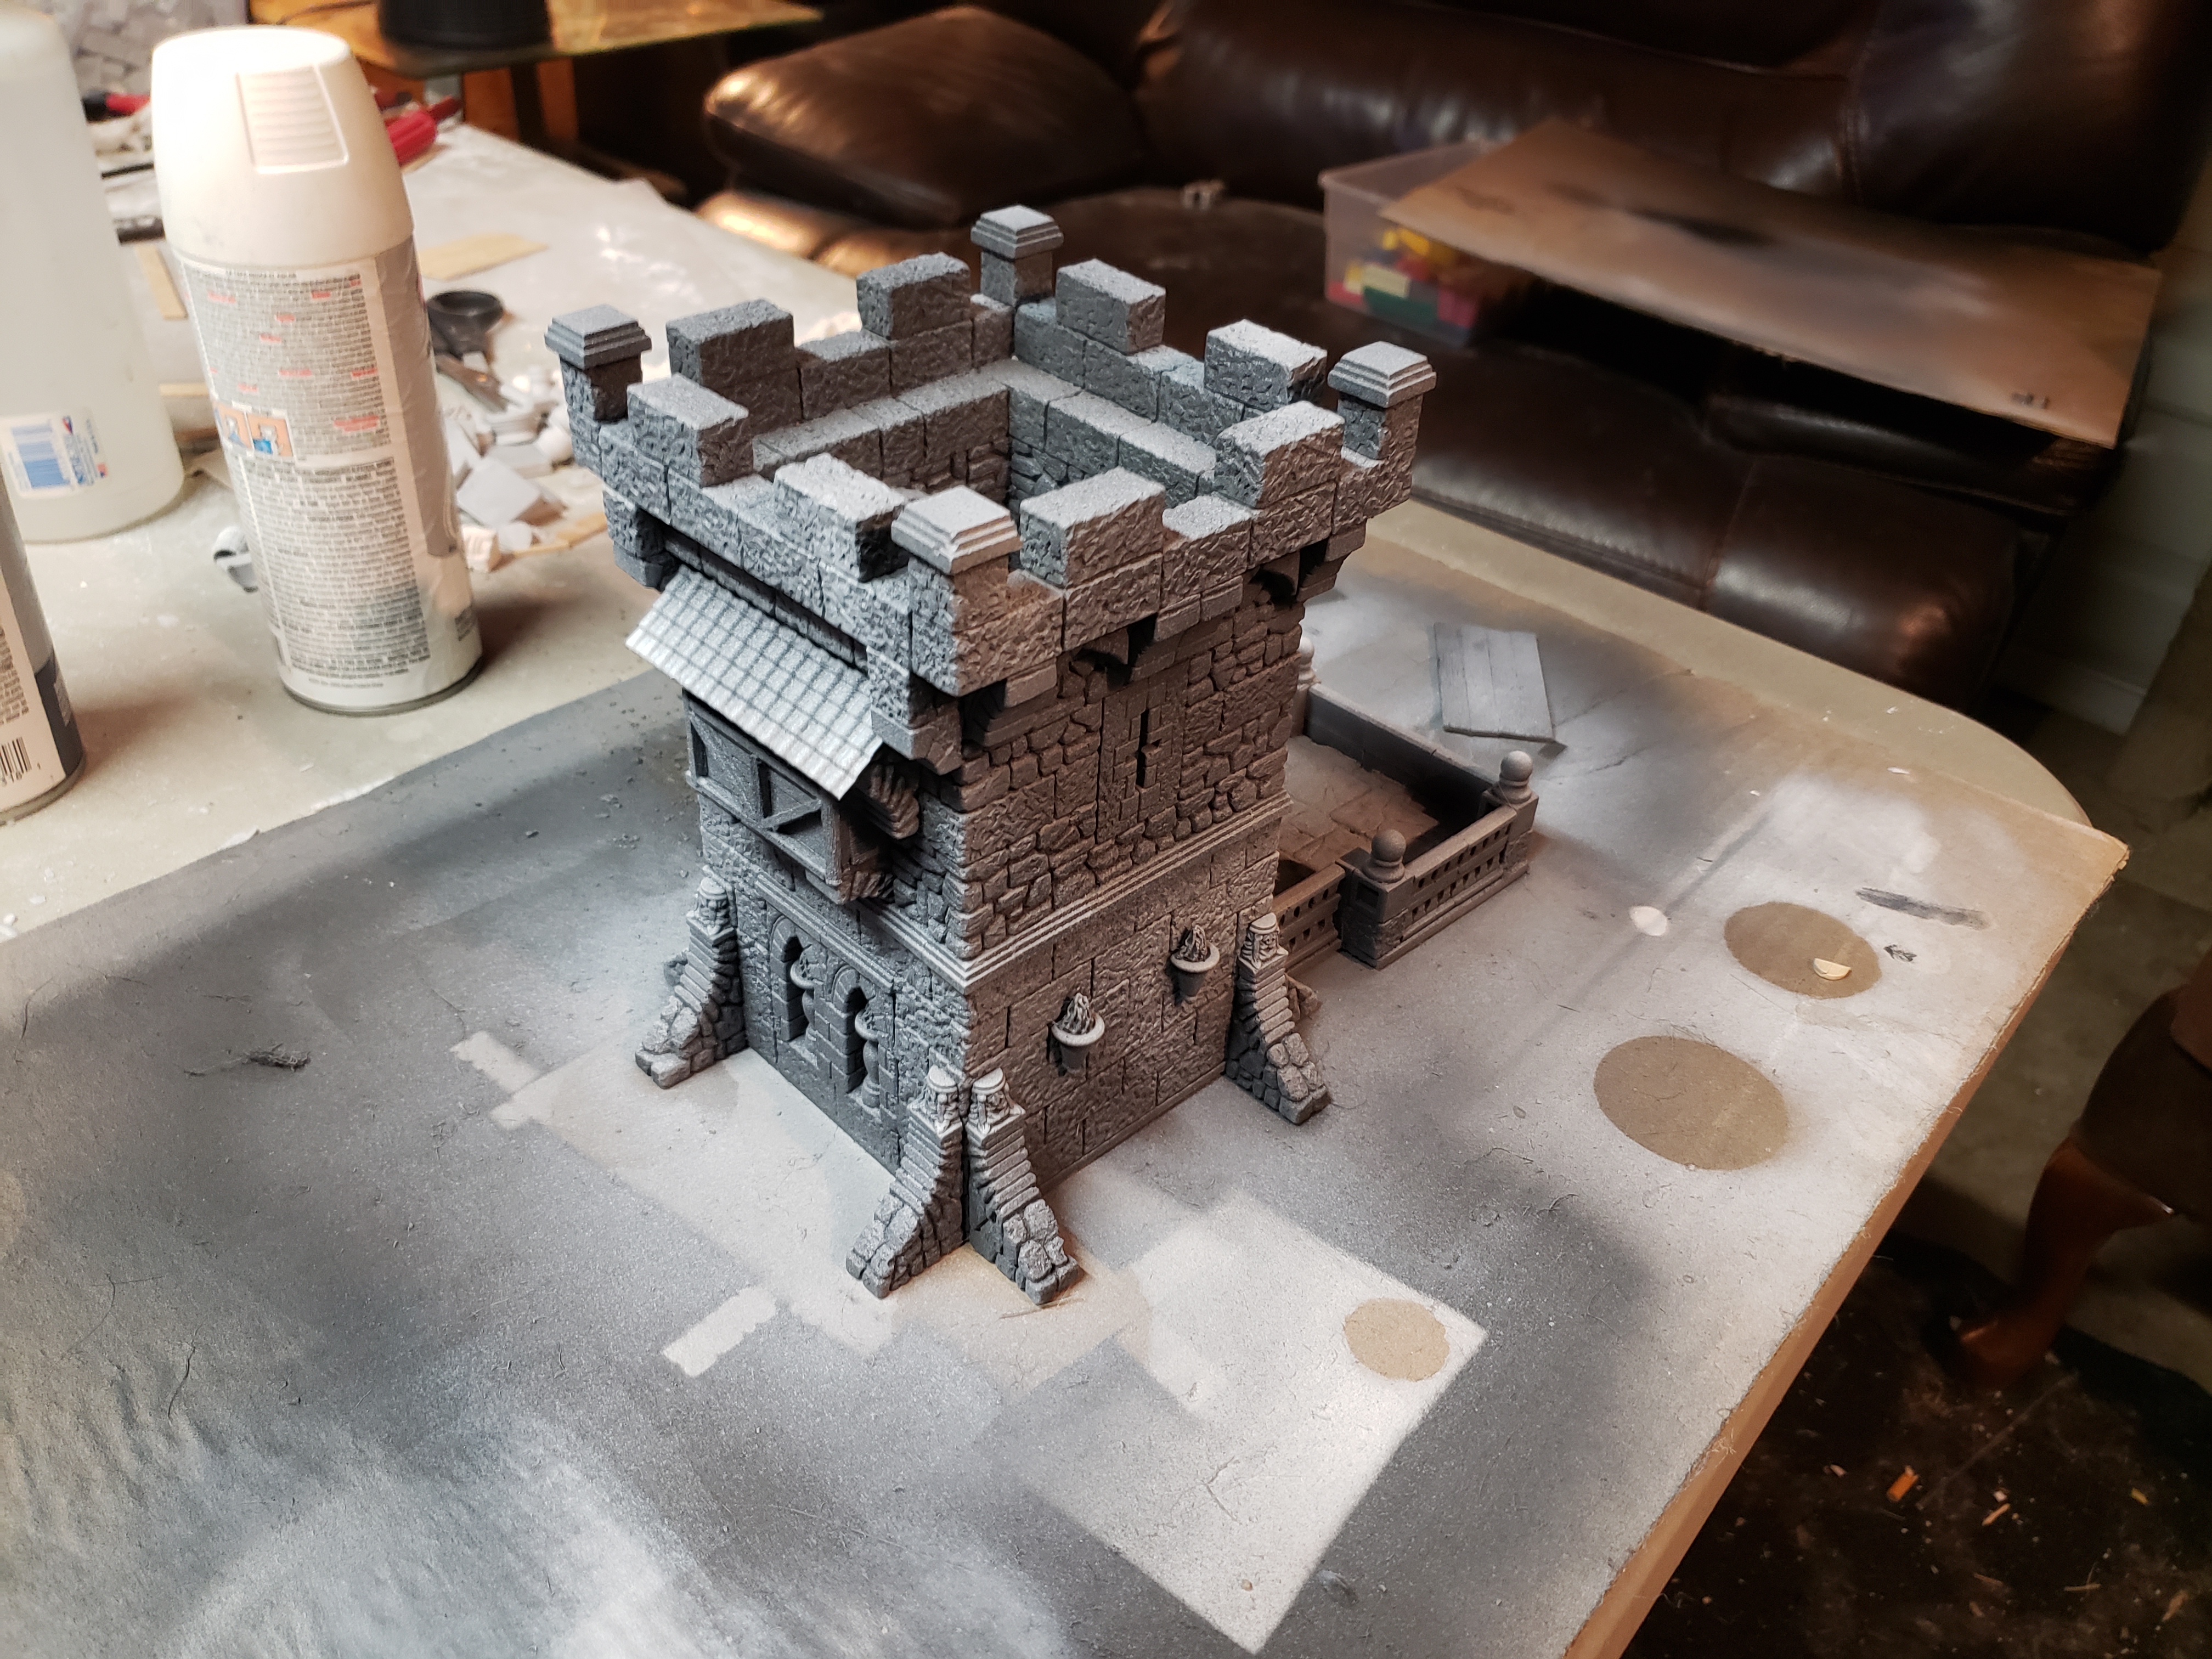
Though it’s not circular, I used this photo of Dublin Castle as inspiration for a few things including the varying of stone types / colors: http://www.dublincastle.ie/work-in-progress-the-medieval-tower/

I used the following molds from  Hirst:

  • Gothic Dungeon Builder #45
  • Bridge Mold #53
  • Octagon Tower Mold #63 (just for the archer slits, there’s a couple other molds with different styles)
  • Fieldstone Wall Mold #70
  • Cavern Accessory Mold #85
  • Cracked Floor Tiles Mold #203

Plus wood glue to bind everything together. Popsicle sticks and balsa for the rear archer thing (I’m sure there’s an actual name for it), and some molded plasticard that looks like those terracotta roofs. The base is a thin piece of birch. I also used the popsicle sticks for the inner ramps.

Also an invaluable tool: Legos. Seriously. Very easy to make L shapes so you can push your cast blocks against them to keep them level and even.

Apologies for the lack of  progress pics. Don’t have an excuse, just didn’t think of it til I was already basically done. Anyway these two are the finished construction, with a dark gray spray primer, + a white spray from above to show highlighting.

Some painting progress. Drybrushing, smoke (which ended up being 95% covered up anyway), some washes on the tiles. I also began to alternate the stone colors to make them more natural looking.

Then I did a bunch of washes to bring out the depth, added green to the base (water damage / moss), and used my airbrush for some OSL around the torches. Finished!

Leave a Reply

This site uses Akismet to reduce spam. Learn how your comment data is processed.